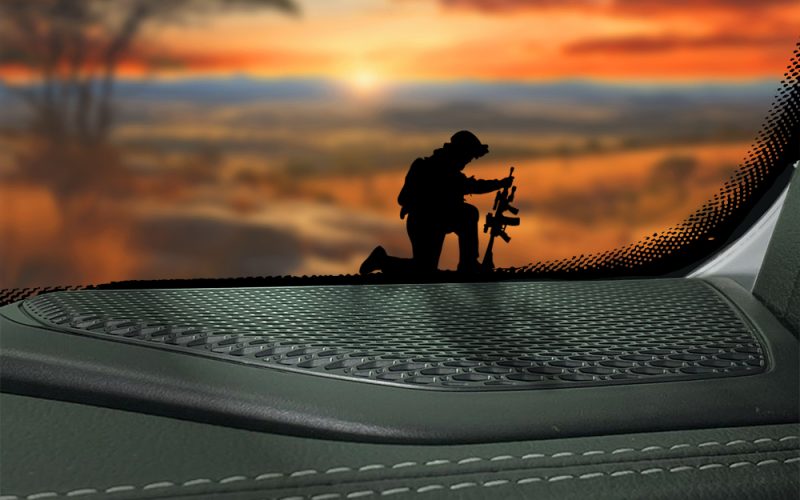
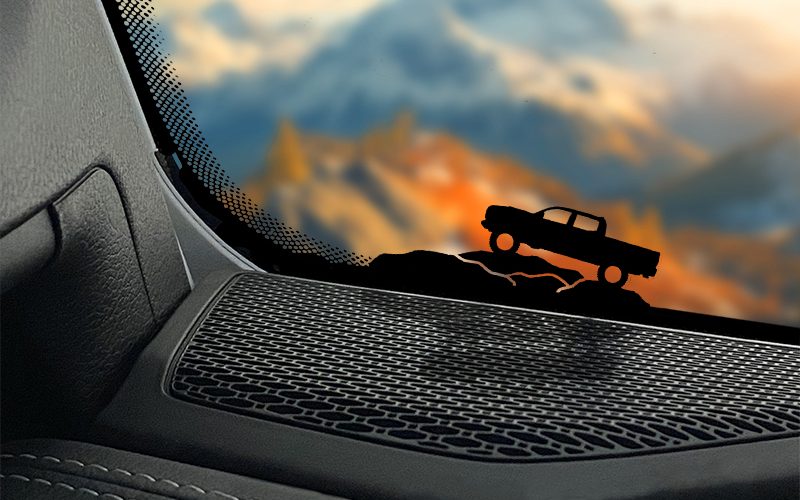
Installation Guide
Installation Guide
Introduction:
Thank you for choosing our decal! Proper installation is essential to ensure a flawless and long-lasting appearance. This guide will walk you through the step-by-step process to achieve a professional-looking result. Please read and follow these instructions carefully before starting.
Materials Needed:
Sticker & Decal
Glass cleaner
Microfiber cloth or paper towels
Masking tape
Measuring tape or ruler
Scissors or utility knife
Squeegee or credit card
Installation Steps:
Prepare the Surface:
Park your vehicle in a well-lit area away from direct sunlight.
Clean the inside of the windshield thoroughly using glass cleaner and a microfiber cloth or paper towels.
Ensure there is no dirt, dust, or debris on the surface.
Measure and Position:
Measure the windshield’s width and height to determine the exact placement for your decal.
Use masking tape to mark the top and sides of where the decal will be placed. This acts as a guide for alignment.
Peel and Apply:
Carefully peel the backing paper off the decal, exposing the adhesive side.
Align the decal with the marked tape guide and position it correctly on the windshield.
Smooth Out Air Bubbles:
Starting from the center and working outward, use a squeegee or credit card to smooth out any air bubbles or wrinkles. Apply even pressure to ensure proper adhesion.
Trim Excess Material:
If the decal is larger than your windshield, carefully trim the excess material using scissors or a utility knife. Follow the contour of the windshield for a neat finish.
Final Inspection:
Step back and inspect the decal for any imperfections, air bubbles, or misalignment.
If necessary, carefully lift the decal’s edge and reapply to correct any issues.
Allow Proper Drying Time:
Let the decal sit undisturbed for at least 24 hours to ensure a secure bond with the windshield.
Clean and Maintain:
Clean the exterior of the windshield as needed, but avoid excessive scrubbing directly over the decal.
Do not use abrasive cleaners or tools on the decal.
Tips:
Install the decal on a warm day or in a heated garage for better adhesion.
Avoid installing in extreme cold or hot weather conditions.
If you’re inexperienced, consider having a friend help you with the installation for better alignment.
Troubleshooting:
If air bubbles persist, use a small pin or needle to gently puncture them, then smooth out with the squeegee.
If the decal is not sticking properly, ensure the windshield is completely clean and free of any residue.
By following these instructions carefully, you’ll be able to install your windshield decal with confidence and enjoy its attractive appearance for years to come. If you have any questions or encounter issues during the installation process, please don’t hesitate to contact our customer support for assistance.


